A first portal is mostly decisions, not work. Here’s the path we walk with new teams — each step is visual, and none of it touches your org’s configuration.
- Connect. Authorize Salesforce over OAuth 2.0. Minutes, not a project — nothing installs in your org, and you can revoke the grant at any time.
- Choose objects and map fields. Point-and-click: pick the objects your audience needs — cases, projects, invoices — and map the fields worth showing. Start narrow; you can widen later.
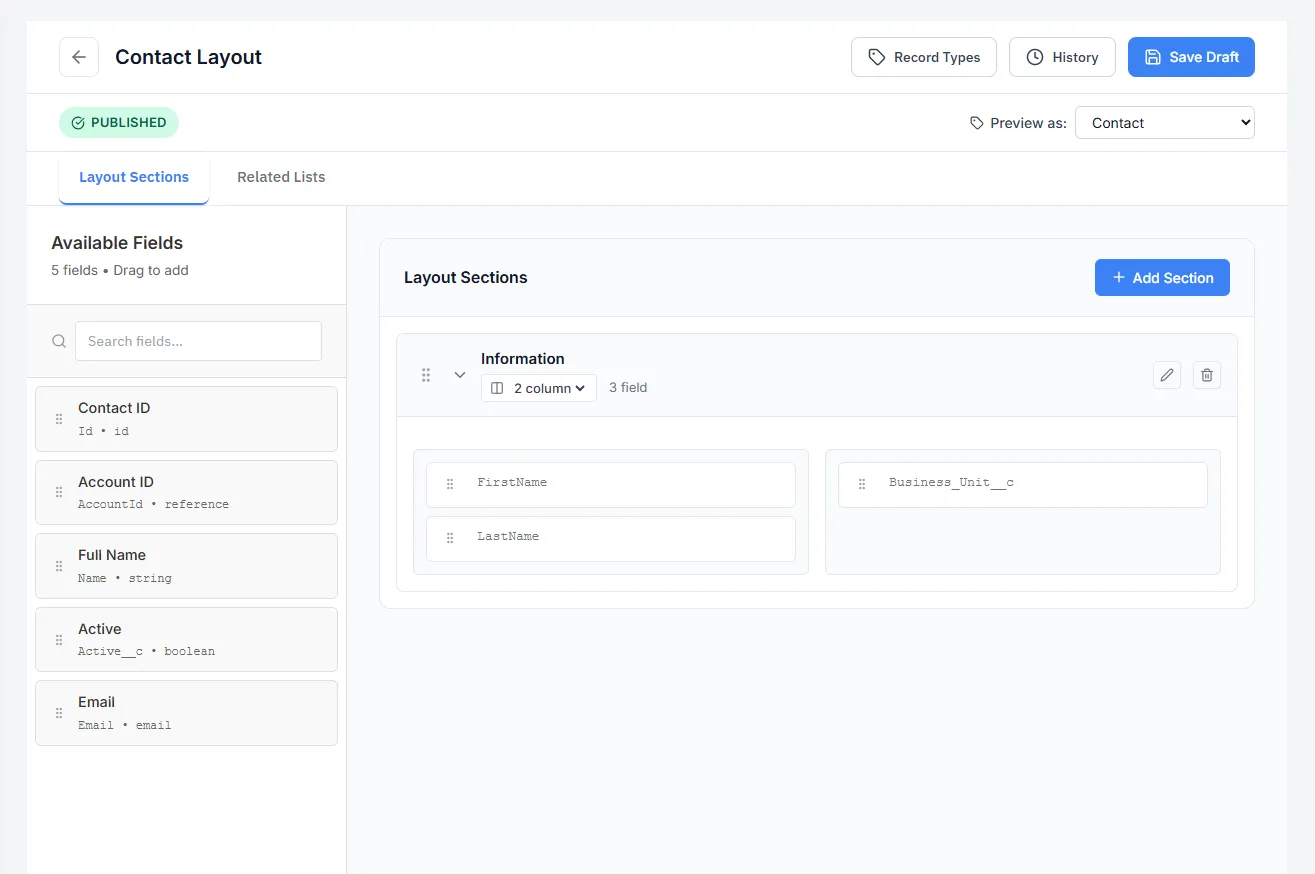
- Build layouts and sharing rules. Drag-and-drop the screens; set who sees what visually. This is where the role question gets answered — customer, partner, employee.
- Brand it. Colors, logo, and your custom domain. The sign-in page should look like you before anyone sees it.
- Invite a pilot group. Start with a handful of friendly users, watch the audit trail, tighten a rule or two, then open the doors.
Because every screen reads your live data through the proxy, there’s no migration step and no content to keep in sync. A first portal is typically a matter of days — the calendar time mostly goes to deciding what to show, not building it.